Vacuum cleaners are required for accomplishing our daily household jobs. If this machine stops working suddenly due to any technical fault, it creates a significant financial strain. Henceforth just learning the techniques of replacing the Vacuum cleaner belt will help save a lot of money in the long run.
Please get to know why vacuum cleaner belt replacement is required and its reasons. In this article, we will illustrate how one can replace the belt through a step-by-step process.
What is the Need to Replace a Vacuum Cleaner Belt?
Over time, the brush roller of the vacuum cleaner faces a lot of abuse that takes away its effectiveness. For example, when you have floor coverings like carpets or rugs, the loose fibers may get entangled in the brush roller, putting a lot of strain on the rolling brush. This ultimately causes the belt to stretch and thereby gradually lose its efficiency.
Another important cause behind the failure of a vacuum belt is the amount of pet hair that enters the brush. Even when you have a solid and robust vacuum belt and a pet that sheds a lot of hair, it automatically accumulates on the brush roller and tangles up.
Therefore, anything that restricts the smooth movement of the brush roller causes tremendous pressure on the functioning of the vacuum belt, and ultimately it leads to a broken belt.
To ensure the optimal performance of the vacuum cleaner, You must change the belt every three months. Even when the belt looks in excellent condition, it might put a lot of stress on the vacuum cleaner.
What Accessories are Required to Replace a Vacuum Cleaner Belt?
The belt replacement is a relatively easy task. Still, it requires a few accessories or tools for accomplishing the replacement job. these accessories include:
- A screwdriver — A simple screwdriver is enough to accomplish the job. All you have to do is check the cleaner’s plate and what type of screws the machine has. The plate is located on the front side of the cleaner.
- A new vacuum cleaner belt — While buying the vacuum cleaner belt, check out your vacuum cleaner model. There are several websites where genuine parts are offered, and that too at relatively lower prices. Here’s a buyer’s guide to research before buying a new vacuum cleaner belt.
Steps to Replace a Vacuum Cleaner Belt
If you find that your vacuum cleaner is running, but it is not correctly cleaning the carpet, or the head of the vacuum cleaner is not spinning, consider replacing the belt. By replacing the belt, you can restore the functioning of your vacuum cleaner all over again.
To replace the vacuum belt of your own, you need to follow a few simple steps, and you can ensure the optimum efficiency of the cleaner. Let’s have a look at the steps below-
Step 1: Once you become sure that your vacuum cleaner is unplugged, turn the cleaner on its back. With the help of a screwdriver, you can search for the internal screws that keep the roll plate in its position, and therefore, one should handle it with extreme care and precaution. Keep the screws in a safe place for the reassembling process later.
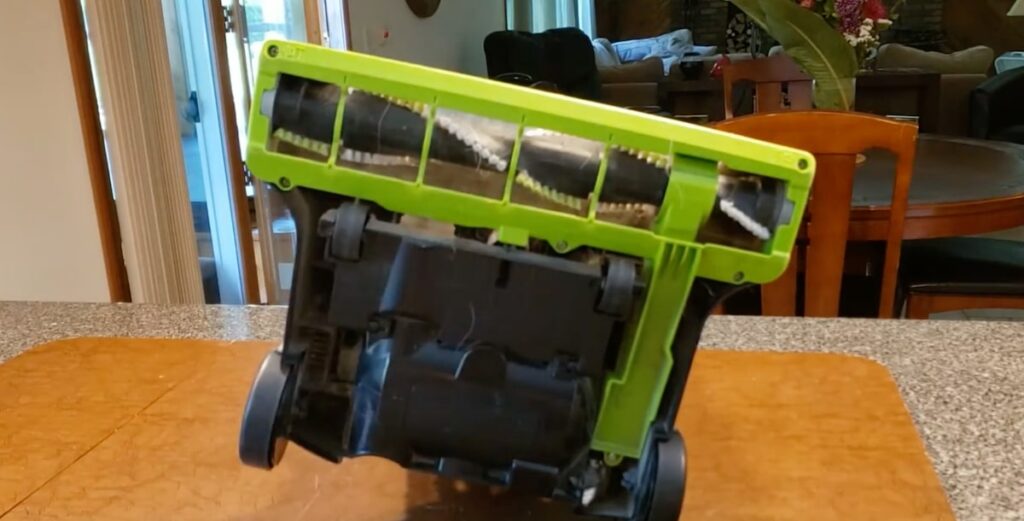
Step 2: Locate the belt of the vacuum cleaner. Almost all vacuum cleaners have the belt in the same place. If you can’t locate the belt, make sure you read the booklet of the vacuum cleaner to get an idea about the location of the vacuum cleaner.
Step 3: Remove the belt as well as the brush roll. It would help if you unhooked the belt. When you remove the roller, you will get into the machine and quickly locate any loose pieces of the belt. You should also find the debris because if any dust or debris is left in the cleaner, it may damage the vacuum cleaner’s motor.
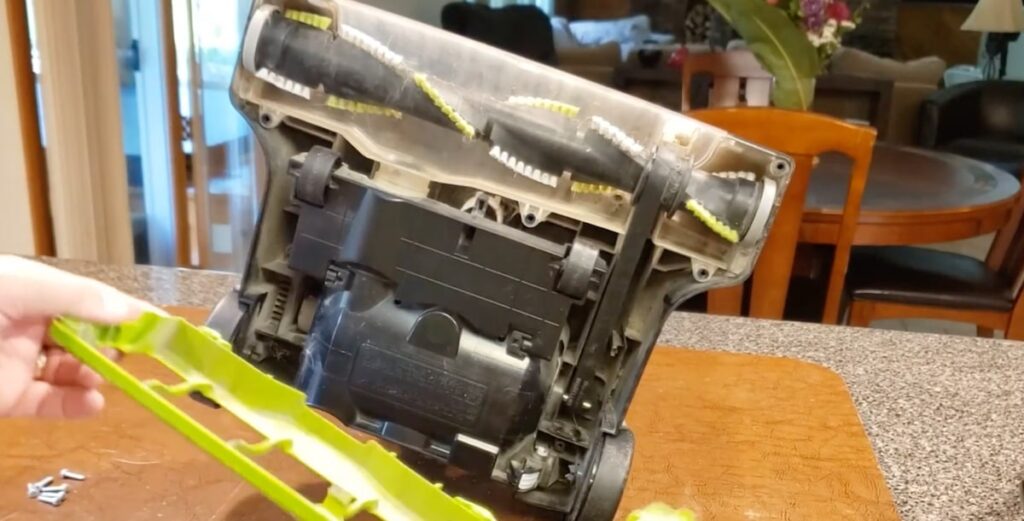
Step 4: When you take out the brush roller, give a thorough clean. The bristles of the machines are free from debris. Look for pet hair wrapped around the brush roller because all these things may cause many problems later.
Step 5: Replace the cleaned brush oil and make sure that the new belt is attached to the motor’s spindle. Wrap the belt around the brush roller and make sure that it is a snug fit. Once you are done with this, tighten all screws of the machine.
You can also watch this video to see how you can replace a vacuum cleaner belt…
Conclusion
Learning to replace a vacuum cleaner belt is an easy process with just a few simple steps. It helps in reducing the sound of the cleaner. On the other hand, a broken belt causes a lot of noise. Most people find belt replacement a relatively easy job. For a relatively straightforward process, it is better to keep a spare belt option always if, in any case, the vacuum belt breaks.
This step-by-step guide hopefully helps you in understanding the entire replacement procedure. Beyond replacing the belt, here are five other procedures one can do to ensure your vacuum’s longer lifespan.
FAQs
How To Know When I Should Change My Vacuum Cleaner Belt?
The belt should be changed every three months. Even when the belt looks in excellent condition, You should still change it as it may put a lot of strain on your vacuum cleaner.
Why Do The Vacuum Cleaner Belts Undergo Damage?
Vacuum cleaners undergo damage due to cleaning large pieces of glass, fireplace ashes, fine dust, wet food, coins, paperclips, hair, dry cereal, etc. All these things put a lot of strain on the functioning of the motor.
What Is The Lasting Period Of A Vacuum Cleaner Belt?
If your vacuum cleaner has a rubber belt, you should check out once a month for melting, cracks, and slippage. They need replacement fairly frequently so keep an eye out for the functioning of the vacuum.